Sambo elephant was 63 years old this year. She died from sickness recently. When I was a kid, I used to see her around Wat Phnom Pagoda, the Royal Palace, and Riverside, where she worked. I was always so excited each time I saw her, but never got close due to my mother's concerns. Lastly, I want to dedicate this article to her.
May your soul rest in peace, Sambo.
1. Prerequisites
This article is solely using AWS services.
You should have some basic knowledge:
- How to setup up AWS account
- How to create a new Next.js app
- How to use AWS Route 53 to manage your domain name
1.1. Optional
It would be great if you have your own domain name. I will use example name yourdomain.com as my domain name.
The domain provider that I will show is Route 53 from AWS. Learn more about Route 53.
2. Introduction
A few years back, if you want to deploy a Next.js app, you would need to use a server to host your app. You would need to set up a server, install Node.js, and install Nginx to serve your app. It was a lot of work.
When it comes to managing and maintaining, it is where the real pain begins. Services like Vercel, Netlify and AWS Amplify are created to solve this problem. They provide a serverless service to host your app so you can deploy your app without worrying about the server, and let the serverless service handle the rest from scaling, to prevision at edge locations.
2.1. What is SST?
SST is a framework that makes it easier for you to build modern full-stack applications on AWS. That's what the offical website says.
2.2. Why SST?
The main selling point of SST is that you write the infrastucture in typescript, and it will generate the CloudFormation template for you. You can also use the CDK to do the same thing. However, SST is more opinionated and easier to use. It is very scalable and flexible than other framework like serverless framework.
Not only that the fast growing community is also a plus. You can find a lot of examples and tutorials on the internet, which can help you in the long run.
3. Getting Started
3.1. Create Next SST Application
Let's get started by creating a new Next.js app.
# Create a new Next.js app
npx create-next-app sst-next-app

# Go to the sst-next-app directory
cd sst-next-app

# Initialize a new SST project
npx create-sst@latest
Within the sst-next-app directory, you'll find the sst.config.ts file. It contains the default boilerplate after running npx create-sst@latest.
import { SSTConfig } from "sst";
import { NextjsSite } from "sst/constructs";

export default {
  config(_input) {
    return {
      name: "sst-next-app",
      region: "us-east-1",
    };
  },
  stacks(app) {
    app.stack(function Site({ stack }) {
      const site = new NextjsSite(stack, "site");

      stack.addOutputs({
        SiteUrl: site.url,
      });
    });
  },
} satisfies SSTConfig;
To deploy the Next application, run this command:
npx sst deploy
Once the deployment completes, you'll receive the CloudFront domain name, which you can use to access your deployed application.
3.2. Custom Domain with Route53
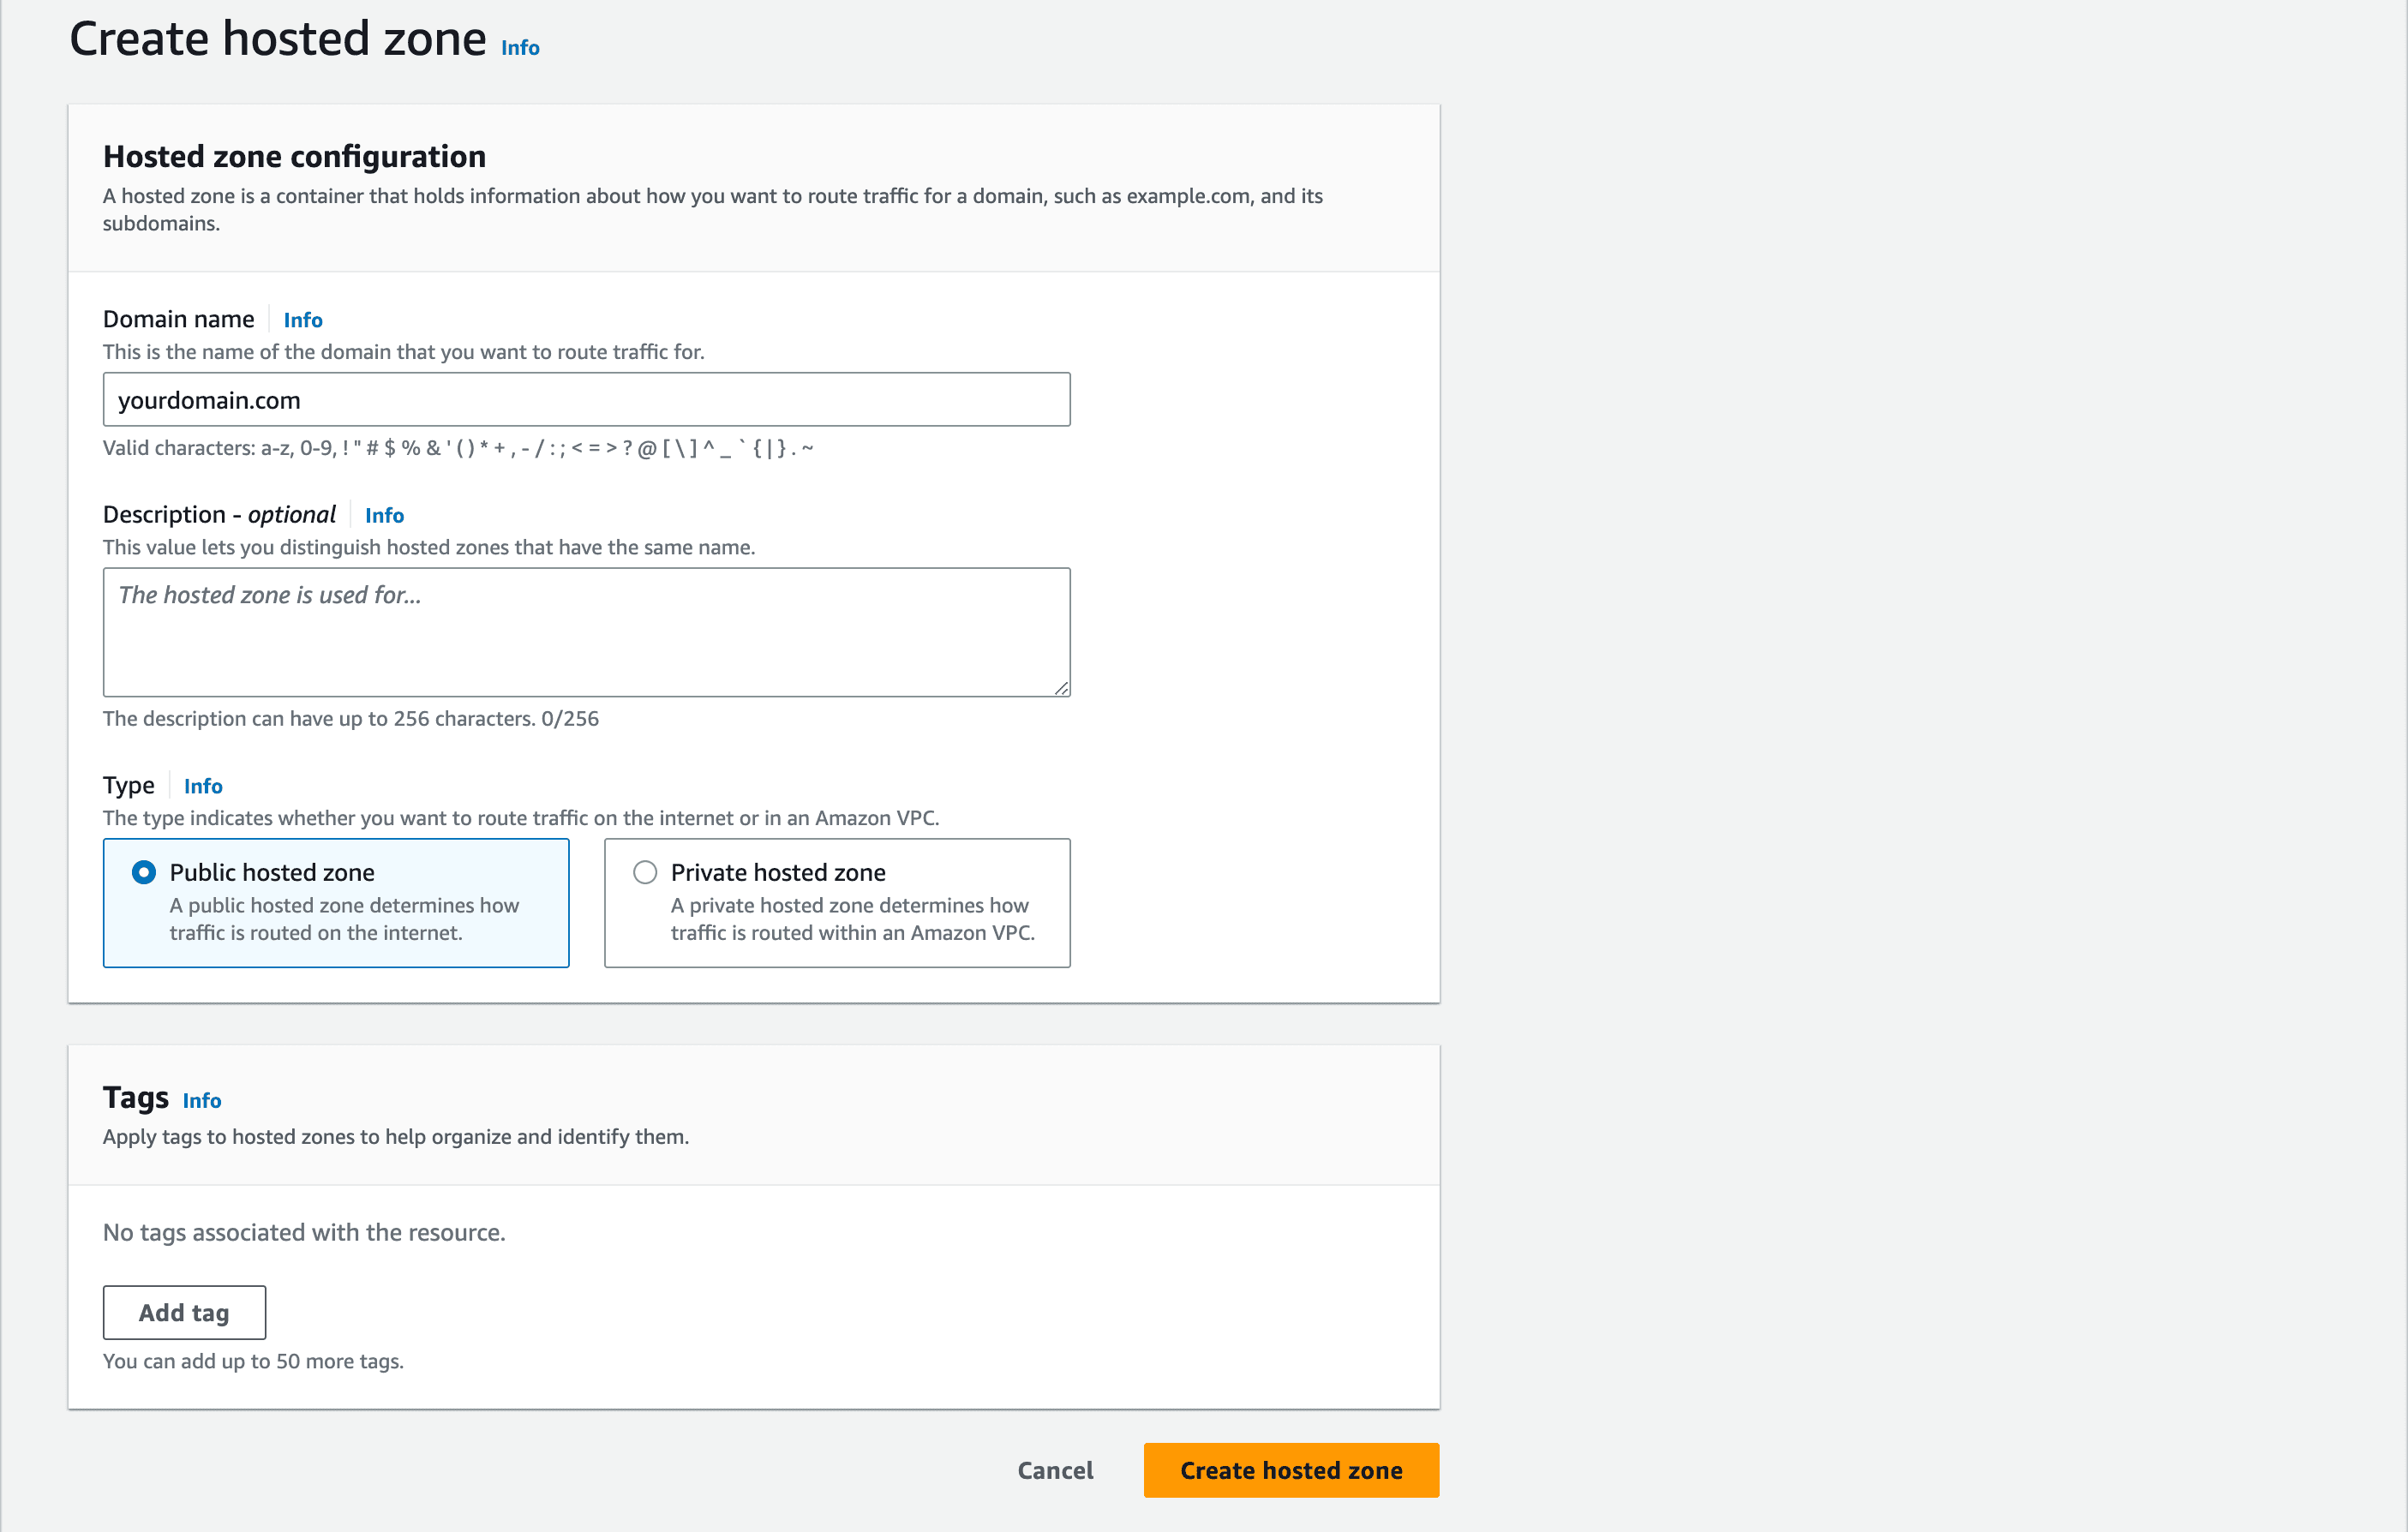
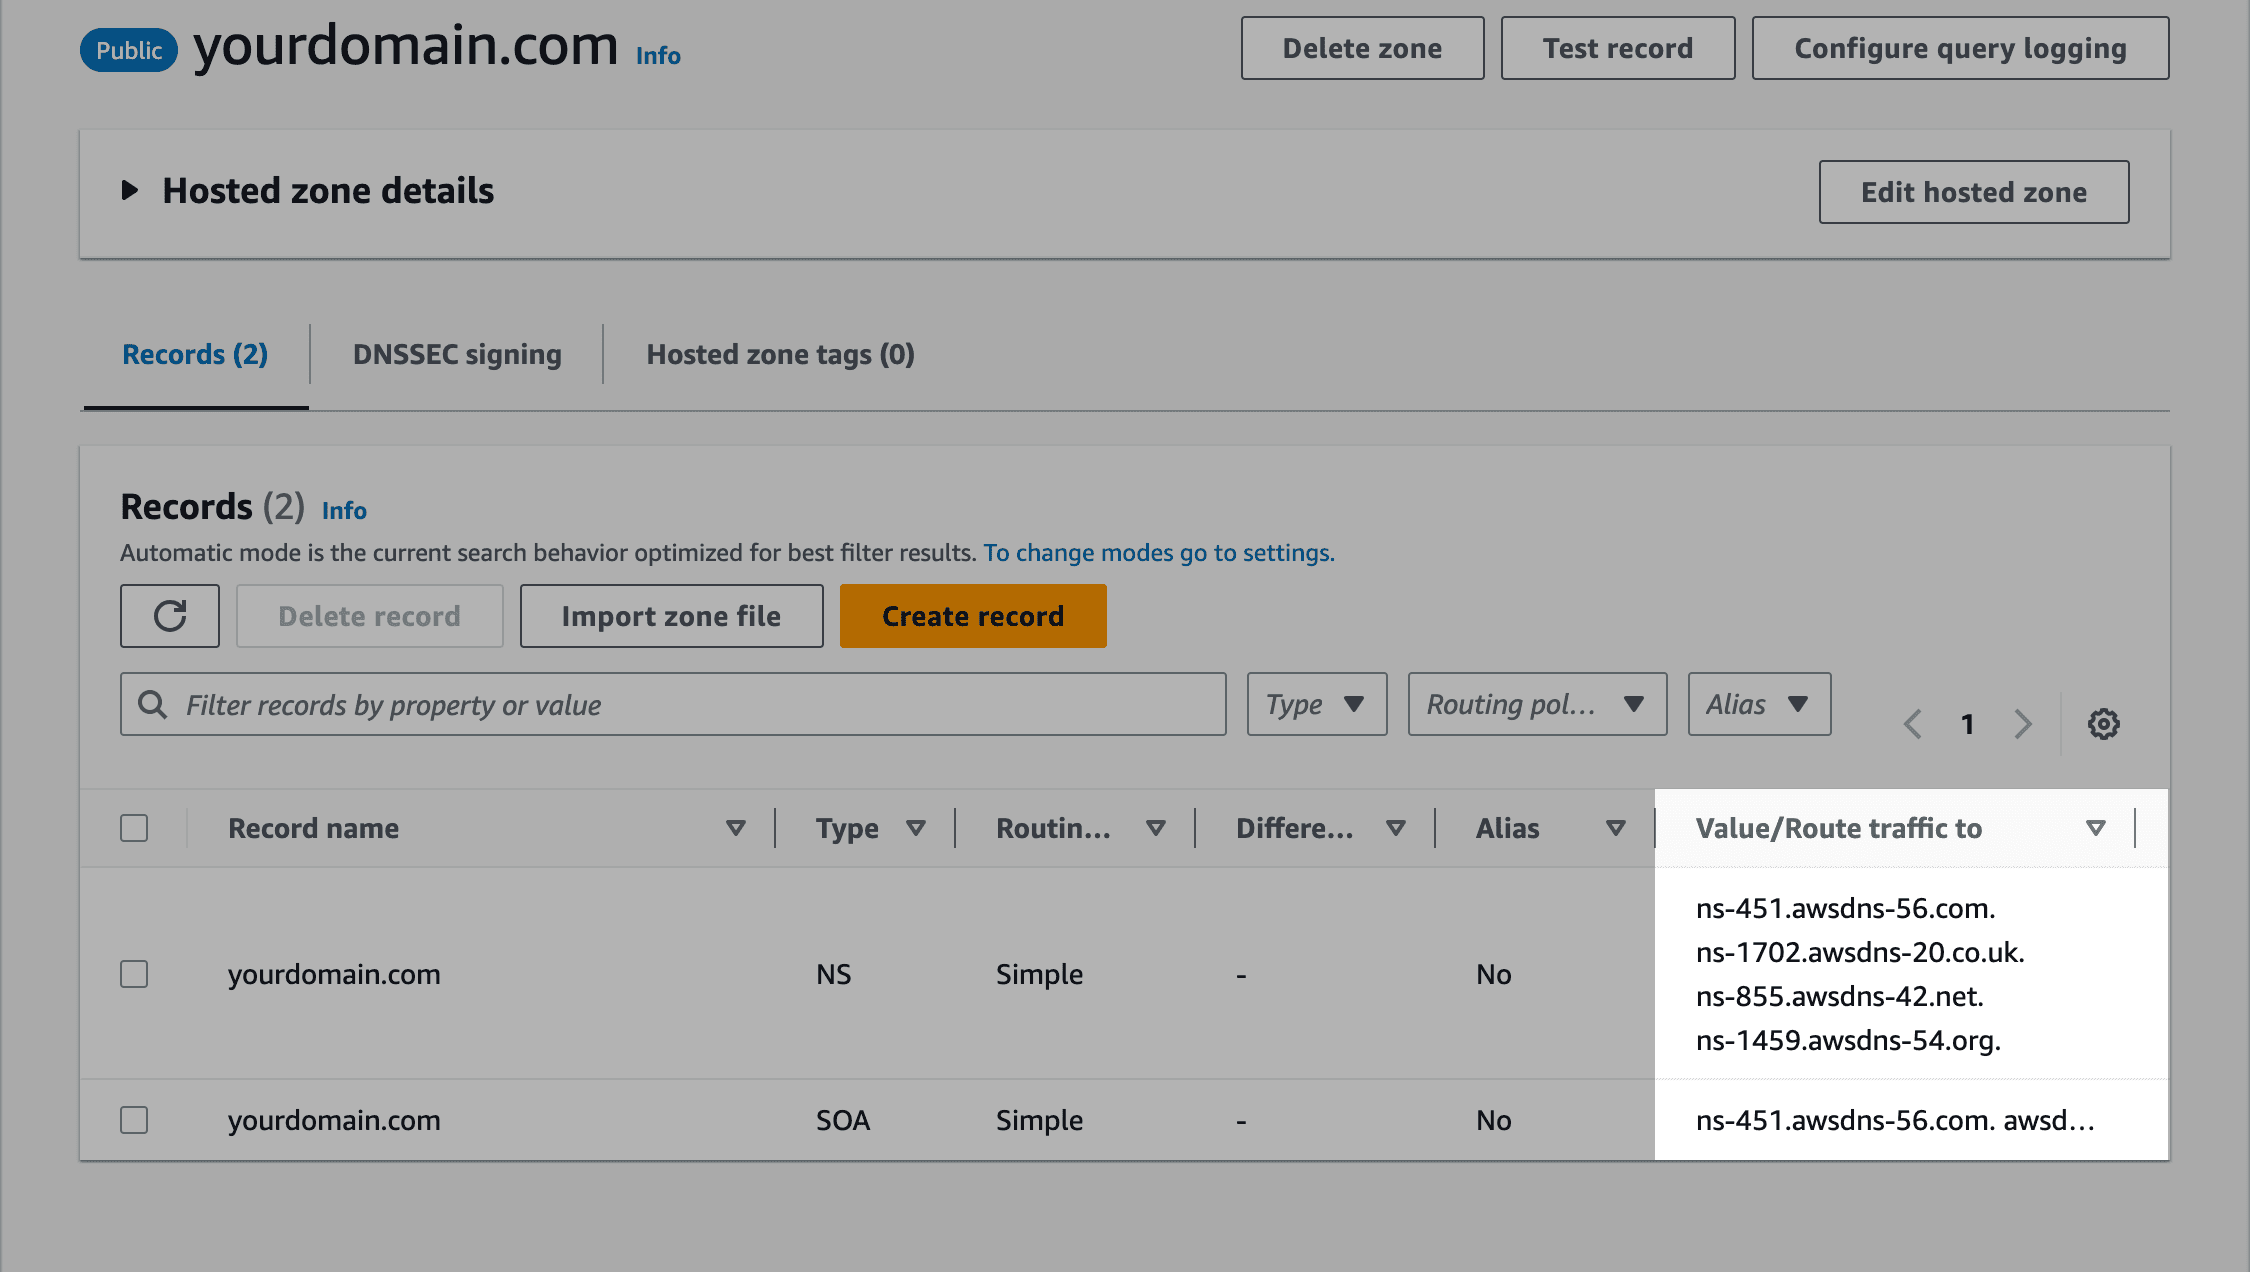
To use a custom domain name for your Next application, you'll need a domain name. You can obtain one from any domain registration service, but I recommend Route 53. What you need now is a hosted zone.
If you've already registered a domain name using Route 53, it will automatically generate a hosted zone with that domain name for you. If not, you can create one by following these instructions.


If you are using a different domain registration service, make sure you update this value.

In sst.config.ts, update the code as follow:
import { SSTConfig } from "sst";
import { NextjsSite } from "sst/constructs";

// change this value to domain name you have created on Route53
const domainName = 'yourdomain.com'
const getAlternativeNames = () => [`*.${domainName}`]

export default {
  config(_input) {
    return {
      name: "sst-next-app",
      region: "us-east-1",
    };
  },
  stacks(app) {
      // create hosted zone to generate certificate for the domain name
      const hostedZone = HostedZone.fromLookup(stack, "hosted-zone", {
        domainName,
      });

      // create certificate for the domain name
      const certificate = new Certificate(stack, "certificate", {
        domainName,
        subjectAlternativeNames: getAlternativeNames(),
        validation: CertificateValidation.fromDns(hostedZone),
      });

      // create a next application with the certificate and a custom domain name
      const site = new NextjsSite(stack, "site", {
        customDomain: {
          domainName,
          cdk: {
            hostedZone,
            certificate,
          },
        },
        cdk: {},
        environment: {},
      });

      stack.addOutputs({
        SiteUrl: site.url,
      });
    });
  },
} satisfies SSTConfig;
To deploy your application, you can run this command in your terminal.
npx sst deploy
Once the deployment is finished, you'll receive a CloudFront domain name. This is the URL you can use to visit your deployed application.
4. Conclusion
In this article, you have learned how to deploy a Next.js application with SST. You also learned how to use Route53 to manage your domain name.